
Loading a skid steer looks straightforward right up until something goes wrong. A bucket catches a ramp, the machine slides sideways on wet steel, a chain works loose at highway speed. The team at Workhorse Trailers has seen the aftermath of every one of those mistakes, and most of them trace back to skipping one or two steps that take less than a minute each. A 9,000-pound machine sitting on a trailer behind you is not the place to learn the hard way.
The good news is that loading and tying down a skid steer the right way is a repeatable process. Do it the same way every time and it becomes second nature. The steps below cover what the rules require, what experience teaches, and where most operators cut corners they should not.
Set the trailer up before the machine moves
Park on flat, level ground. A slope under the trailer changes how weight transfers during loading and makes the ramps want to kick out at the bottom. Chock the trailer tires on both sides. If the trailer is connected to the truck, leave the truck in park with the parking brake set and the wheels chocked too.
Lower the ramps and check that they are fully seated against the deck. Bi-fold ramps need the safety pins or latches engaged. Slide-in ramps need to be locked into their receivers, not just dropped in place. Inspect the ramp surface for mud, ice, or hydraulic fluid. A skid steer with smooth-tread tires on a slick ramp is the most common cause of loading accidents.
Walk the deck. Sweep off any loose gravel, frozen snow, or debris that could affect traction or hide a damaged board.
Load heavy end first, and load slowly
Skid steers carry roughly 70 percent of their weight on the rear axle when the bucket is empty and the loader arms are down. That changes the moment you raise the arms or carry a load. The general rule is to load the machine with the heavier end toward the front of the trailer, which usually means backing a skid steer up the ramps so the engine compartment ends up over the trailer axles.
Approach the ramps straight on. Even a few degrees of angle increases the chance of a tire walking off the edge. Keep the bucket or attachment 6 to 12 inches off the deck during loading. Too high and the machine becomes top-heavy on the ramp. Dragging it scratches the deck and can hook a cross-member.
Once the machine is on the deck, position it so 60 percent of its weight sits ahead of the trailer’s axle centerline. Too far forward overloads the tongue and lightens the steer wheels on your truck. Too far back creates sway. With a typical 20-foot deck and a mid-size skid steer, the rear tires usually end up a foot or two behind the axle group.
Lower the bucket or attachment flat to the deck. Shut the machine off, set the parking brake, and engage any transport locks the manufacturer specifies.
Tie-down requirements that actually matter
Federal load-securement rules under FMCSA 49 CFR 393.130 require a minimum of four tie-downs for any piece of equipment over 10,000 pounds, with each tie-down rated for at least 5,000 pounds working load limit (WLL). For a 9,000-pound skid steer, four chains are still the right answer. Two is not enough, regardless of what the brochure says.
Use Grade 70 transport chain, not Grade 43 utility chain. The yellow zinc-chromate finish and the embossed “7” or “70” on the links are how you tell them apart. Match chain capacity to the binders. A 3/8-inch Grade 70 chain has a WLL of 6,600 pounds, and a 3/8-inch ratchet binder typically matches that rating.
Attach chains to the dedicated tie-down points on the skid steer frame, not to the loader arms, the bucket, or anywhere on the hydraulic lines. Bobcat, Cat, Kubota, and John Deere all mark their tie-down locations in the operator manual. Run two chains from the front of the machine pulling forward and outward, and two from the rear pulling rearward and outward. The angle should be roughly 45 degrees in both the horizontal and vertical planes. That cross-pattern resists movement in every direction.
A few details that separate a clean tie-down from a sloppy one:
- Use ratchet binders, not lever binders, for anything over a short local haul
- Seat the chain into the binder hook fully, with no twists in the links
- Secure the loose chain ends with bungees or zip ties so they cannot whip in the wind
- Check the binders again after the first 25 to 50 miles, because chains settle as the trailer flexes
Pre-trip walk-around and en-route checks
Before you pull onto the highway, do a full walk-around. Verify all four chains are tight, ramps are stowed and pinned, the trailer coupler is locked, safety chains are crossed under the tongue, the breakaway cable is connected, and all lights work. Tire pressure on the trailer matters more than people think. Underinflated trailer tires are a leading cause of blowouts.
Re-check the load at your first fuel stop. Then every two hours or 100 miles after that. A skid steer that shifts even an inch can loosen a chain enough to matter at 70 miles per hour.
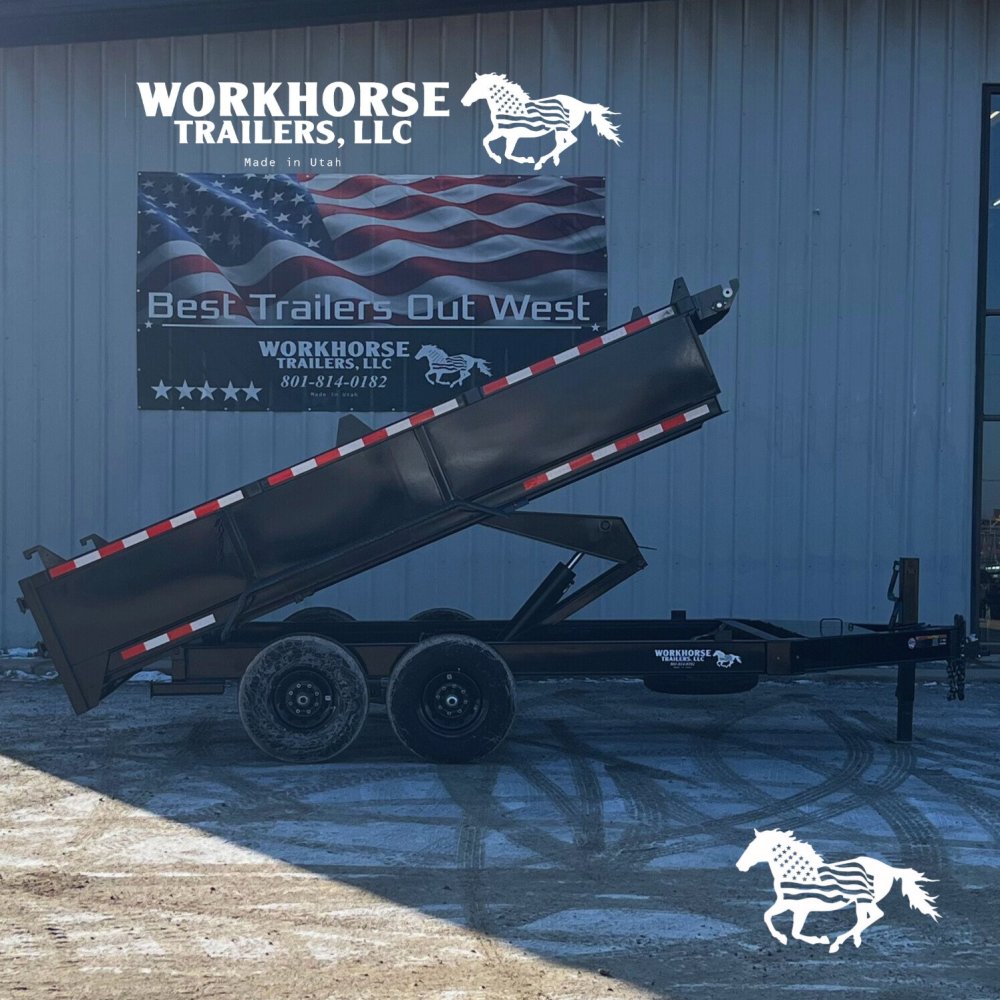
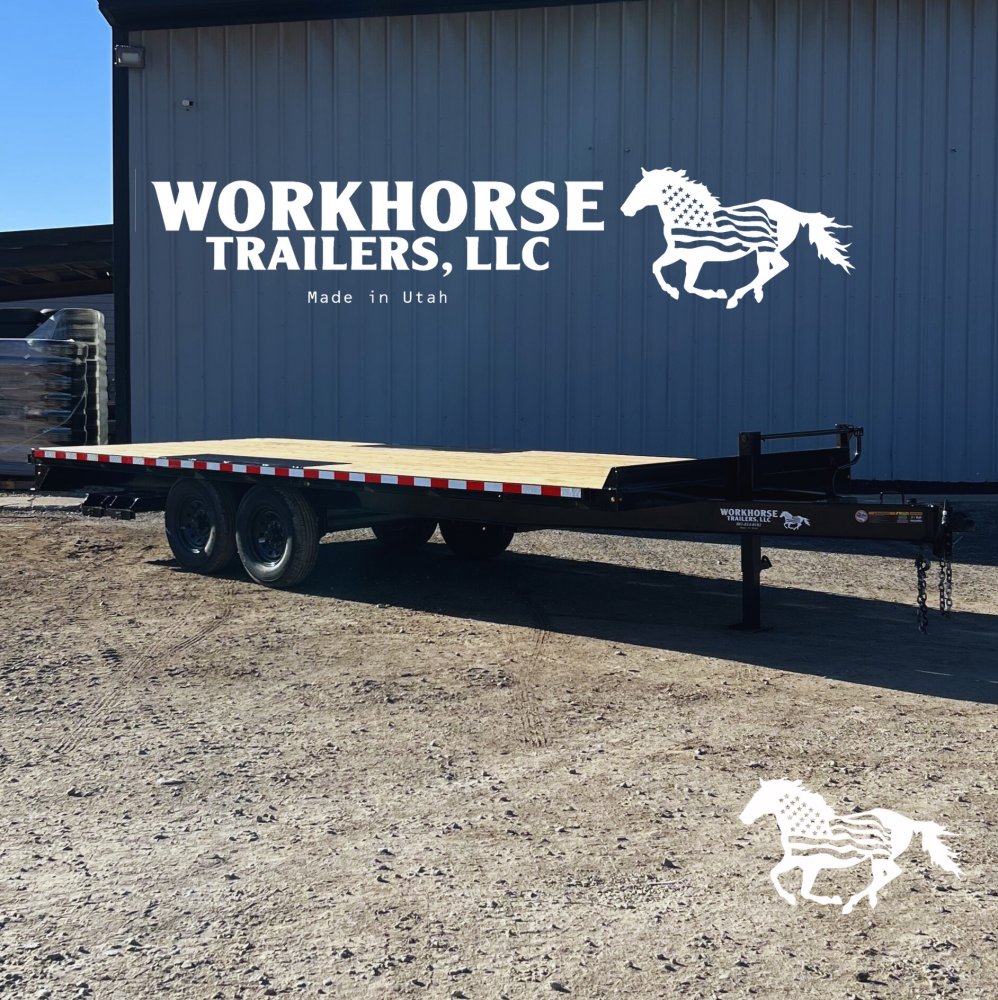
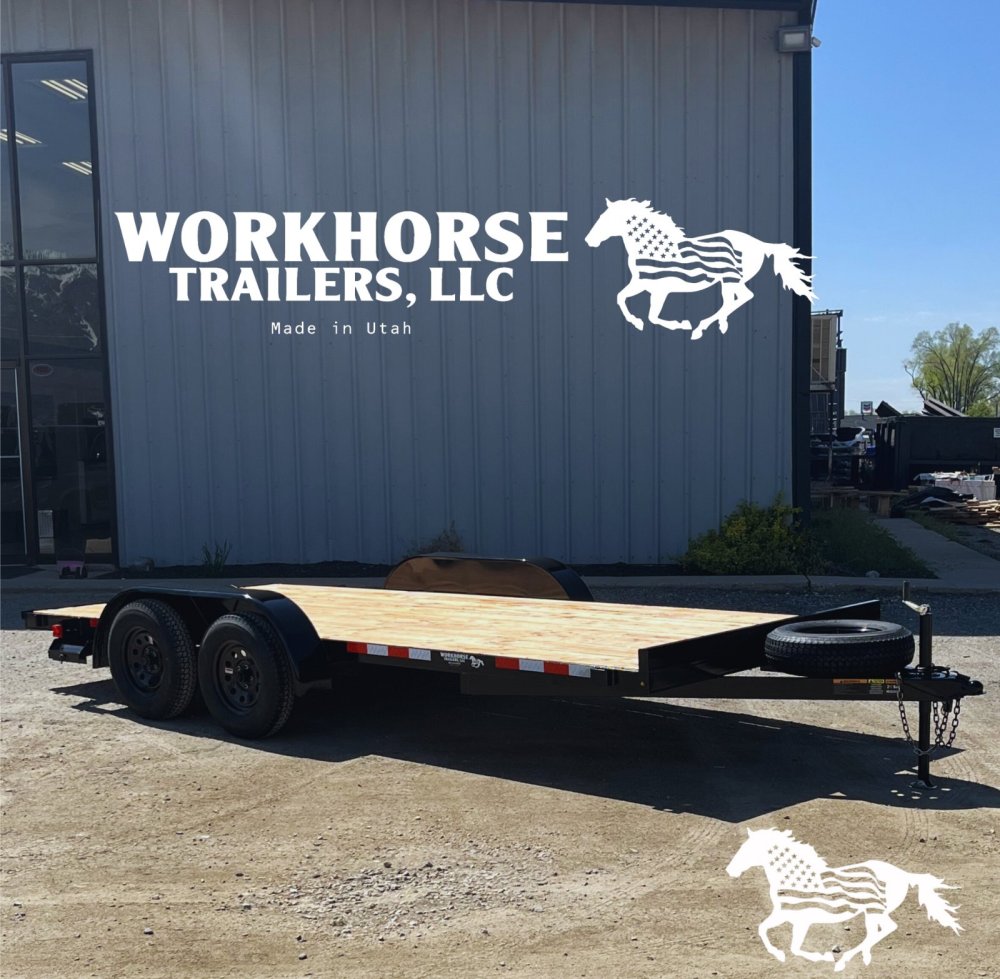
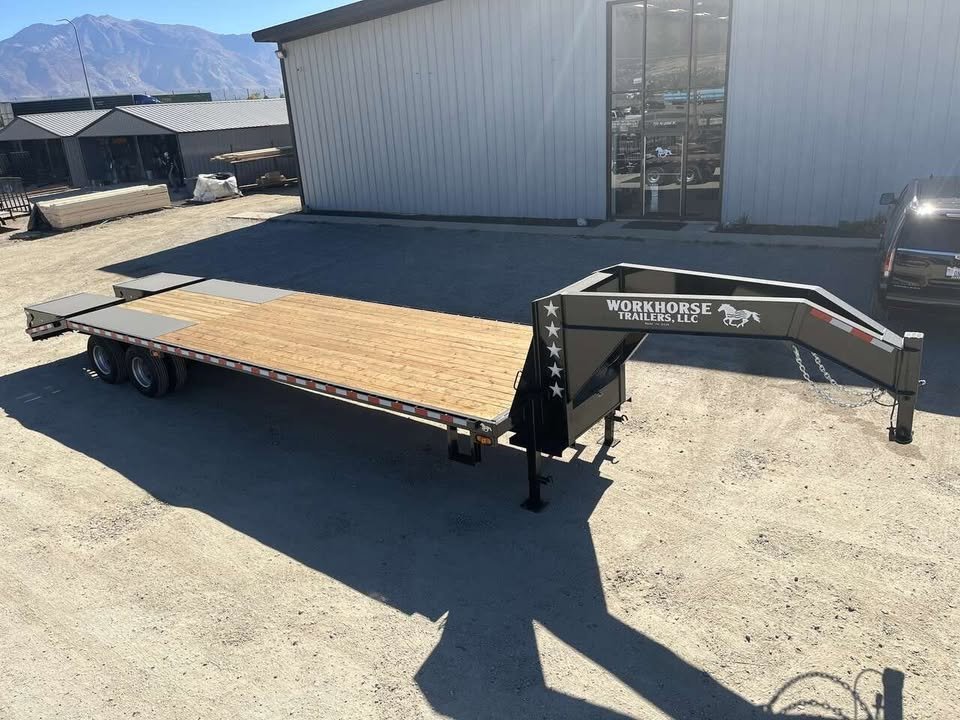
Where the trailer itself comes into the picture
Securement is only as good as what you are tying to. The team at Workhorse Trailers builds and stocks equipment haulers with welded D-rings, frame-mounted stake pockets, and rub rails sized for serious chain work. A trailer with bolt-on rings through plywood is not the place to tie down a 9,000-pound machine.
Final thoughts
Properly loading and securing a skid steer on an equipment hauler comes down to setup, weight placement, and four well-rated chains pulled in the right directions. Take the extra five minutes at every stage and the trip behind you stays uneventful, which is exactly what you want. Stop by Workhorse Trailers when it is time to put your skid steer behind a trailer built to actually hold it.

